This is the primary use of my Raspberry Pi: a music player as well as an alarm clock.
So, this is not your usual alarm clock: it plays music stored on my Freebox Revolution (modem-router with a built-in NAS) and it turns my TV on (which displays an ascii visualization, the playlist and a clock) while slowly fading the volume up.
TV display
OS
Nyx (that would be the Pi’s hostname) runs an Archlinux. Simply because I already use it everywhere else and the [alarm] (ArchLinux ARM) repository is fairly supplied. Which, unless having a way to cross-compile on another machine, is a really good thing.
That being said, you can do the exact same thing with any Linux distribution supporting the Raspberry Pi.
MPD
The core component of this is the awesome music player daemon: MPD.
It plays the common audio formats (OGG, MP3, Flac, …) and many more. It can output to your speakers and to a FIFO file, AirPlay, an HTTP stream, Shoutcast…
The most interesting thing being: it’s “just” a daemon. You get to choose the client(s) and there are plenty to choose from.
I use multiple ncmpcpps in a splitted tmux on Nyx as well as MPDroid on my phone. If you want a client on your PC and you’re not a big fan of CLIs, give Ario a try. To scrobble on Last.fm, you can use mpdscribble.
Network share
To avoid copying all my musics on the SD card, I wanted to play them from a network share on my Freebox.
This is done by adding a line in /etc/fstab:
//192.168.0.254/Disque\040dur/Musiques /mnt/musics cifs guest 0 0Then, just run mount /mnt/musics to mount it now. You can now put this folder in mpd’s config file.
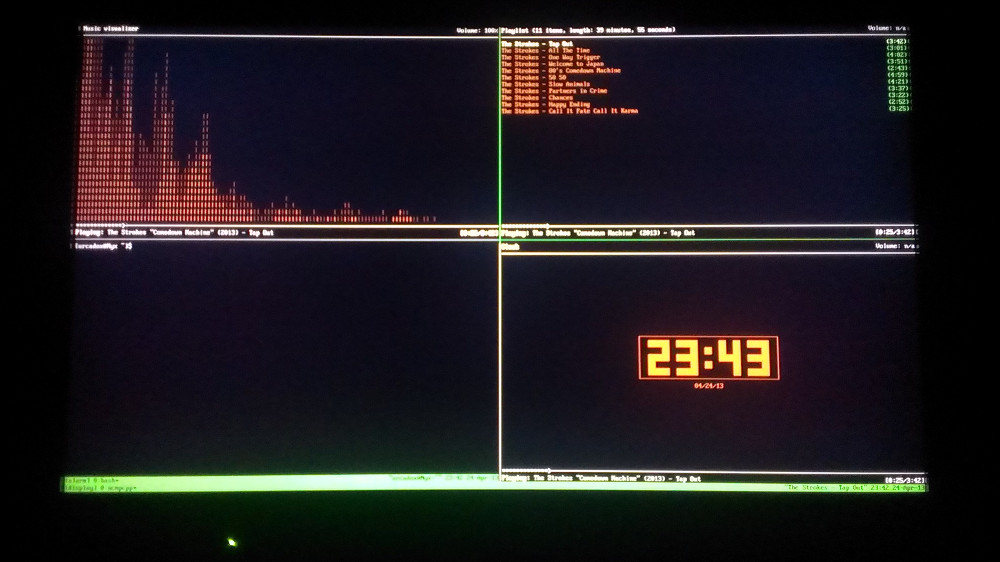
TV display
In a TTY, I have a tmux splitted into a grid of 4 panes displaying an ascii visualization, the playlist, a clock and a tmuxception (I will get back to that later on).
The first 3 panes are powered by ncmpcpp. Follow this for the visualizer. This function may not be enabled in your version; if not, you need to compile it with the flag --enable-visualizer=yes.
HDMI’s CEC
CEC (Consumer Electronics Control) is a protocol used by HDMI devices to control each other. A TV may broadcast the actions done by the user with the remote to the source currently displayed and a source may turn on and off the TV and change its HDMI input among other things.
On a Raspberry Pi, you can use the simple cec-client to control your display. You can play with it by launching it in interactive mode (without parameters), wait for it to display waiting for input, then issue the command help and try away!
For our purposes the as command is all that we need. It turns the TV on then switches the input to itself.
Executing a single command: echo "as" | cec-client -s
Alarm
To trigger the alarm I could have used a cron, but not having a consistent schedule makes it not ideal. So I made a simple script which uses a very long sleep and another script to fade the volume.
You can find them both here (Github Gist).
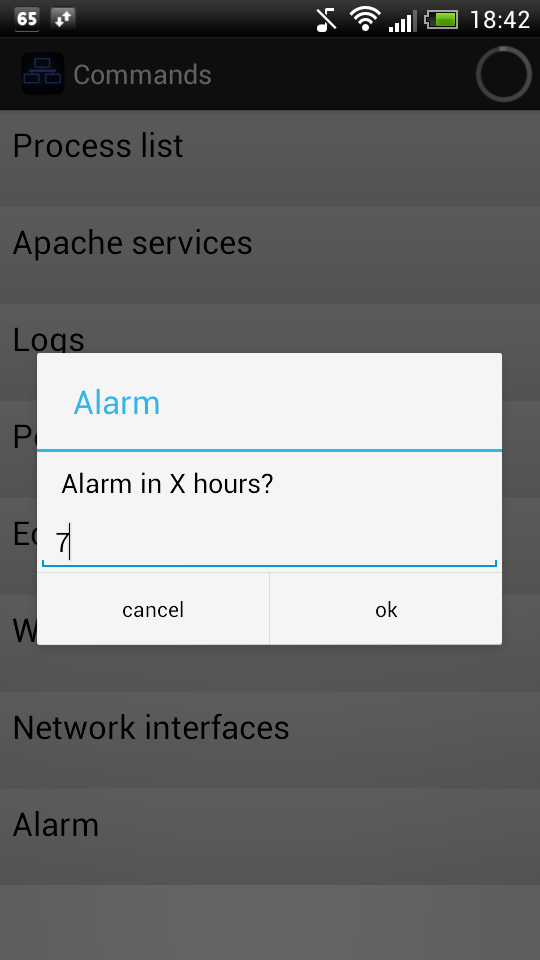
PilotSSH
I used to set the alarm up with ConnectBot, but that was not really handy.
Then came PilotSSH, a very useful app by Geoffroy Couprie. It’s not yet available on Android but it will be very soon (I’m using an alpha version).
Earlier, I mentioned a tmuxception in the fourth pane of the tmux displayed on the TV. At first it was meant to avoid attaching to a 4-panes grid tmux on my phone which is far from usable.
With PilotSSH, I don’t have this problem anymore. Still, it’s simpler to execute a command in a single-pane tmux as you can see in this very simple script: Github Gist.
That’s it
I didn’t want to go into details to keep this post short, but if you have any questions: ask away! :-)